 We provide a 10-Year Warranty With
 this Service. The Warranty is legally certified
and documented by a Notary Public.
 With this service, you can upgrade your 10-years warranty to 20-Years. Check below for more info.
 We offer the best prices with full transparency - no hidden fees, and no compromise on quality.
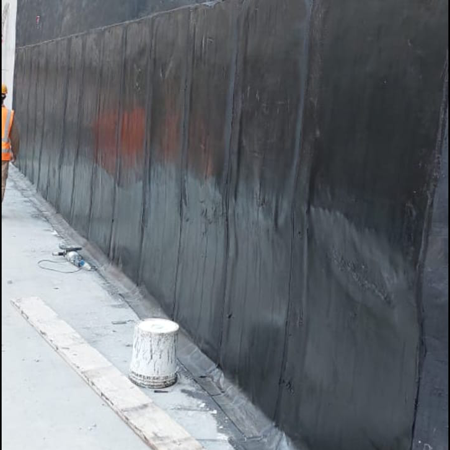
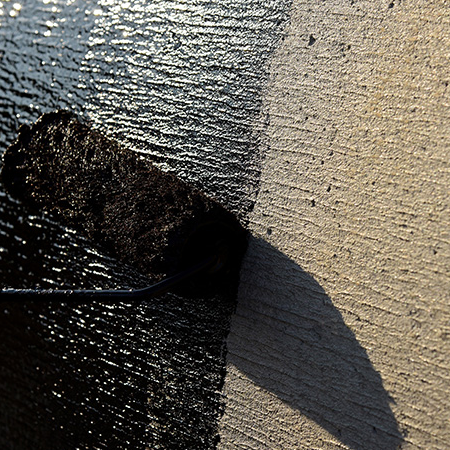
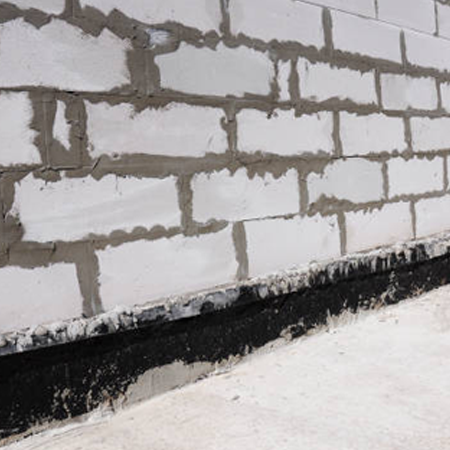
 We use only top-grade European products - All Material data sheets are available upon request.